How to share macOS screen recordings with non-Mac-Users
macOS screen recordings are always hi-fi. Which is good for video production, but not for the most common use case for developers and UX designers.

If you share screen recordings on a Mac with others, here is a tip to reduce friction – by auto-converting your screen recordings to MP4 as soon as they are saved. This way, others can easily play back your screen recordings – while saving storage space, bandwidth, and time!
Why should you re-encode screen recordings on macOS?
By reducing quality and re-encoding…
- You get faster uploads.
- Videos begin to play more quickly for others.
- Less cache storage is wasted, especially on phones.
- Coworkers on a mobile data plan will be able to play your video even in places where reception or download speeds aren’t perfect. Which means they might see it earlier.
- Linux users won't have to install weird stuff for your video to be playable.
How does it work?
Step 1: Get the Hazel app, and install ffmpeg.
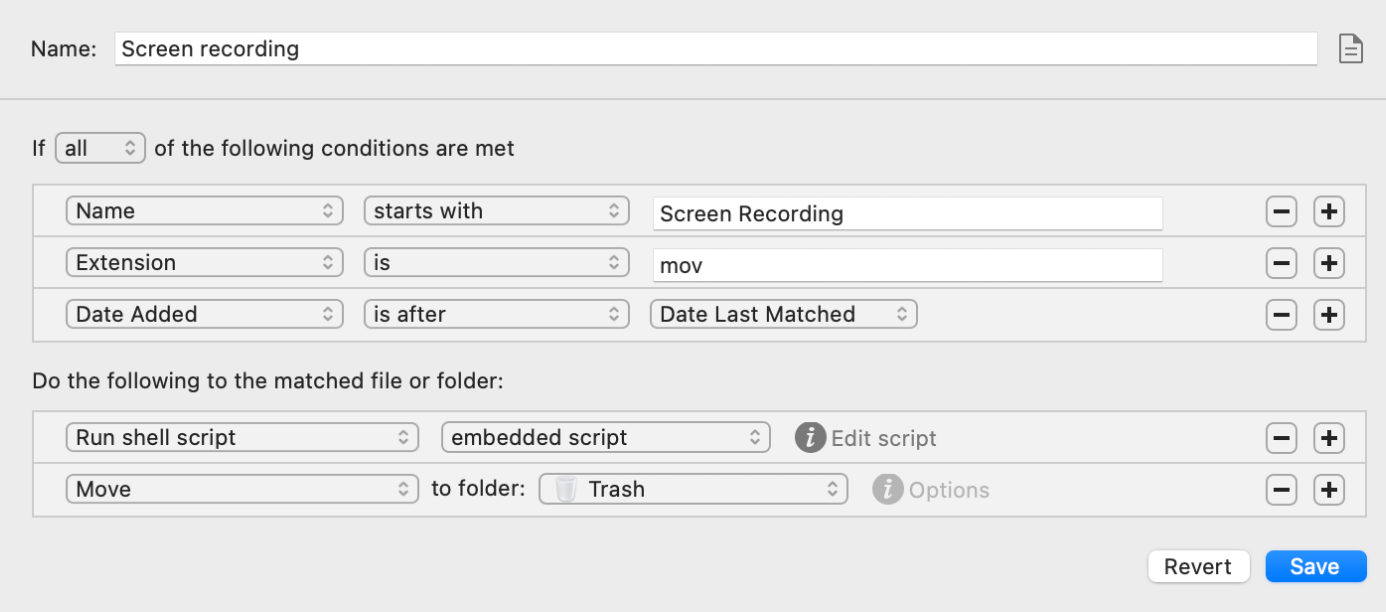
Step 2: Add a new rule to your Desktop folder in Hazel:
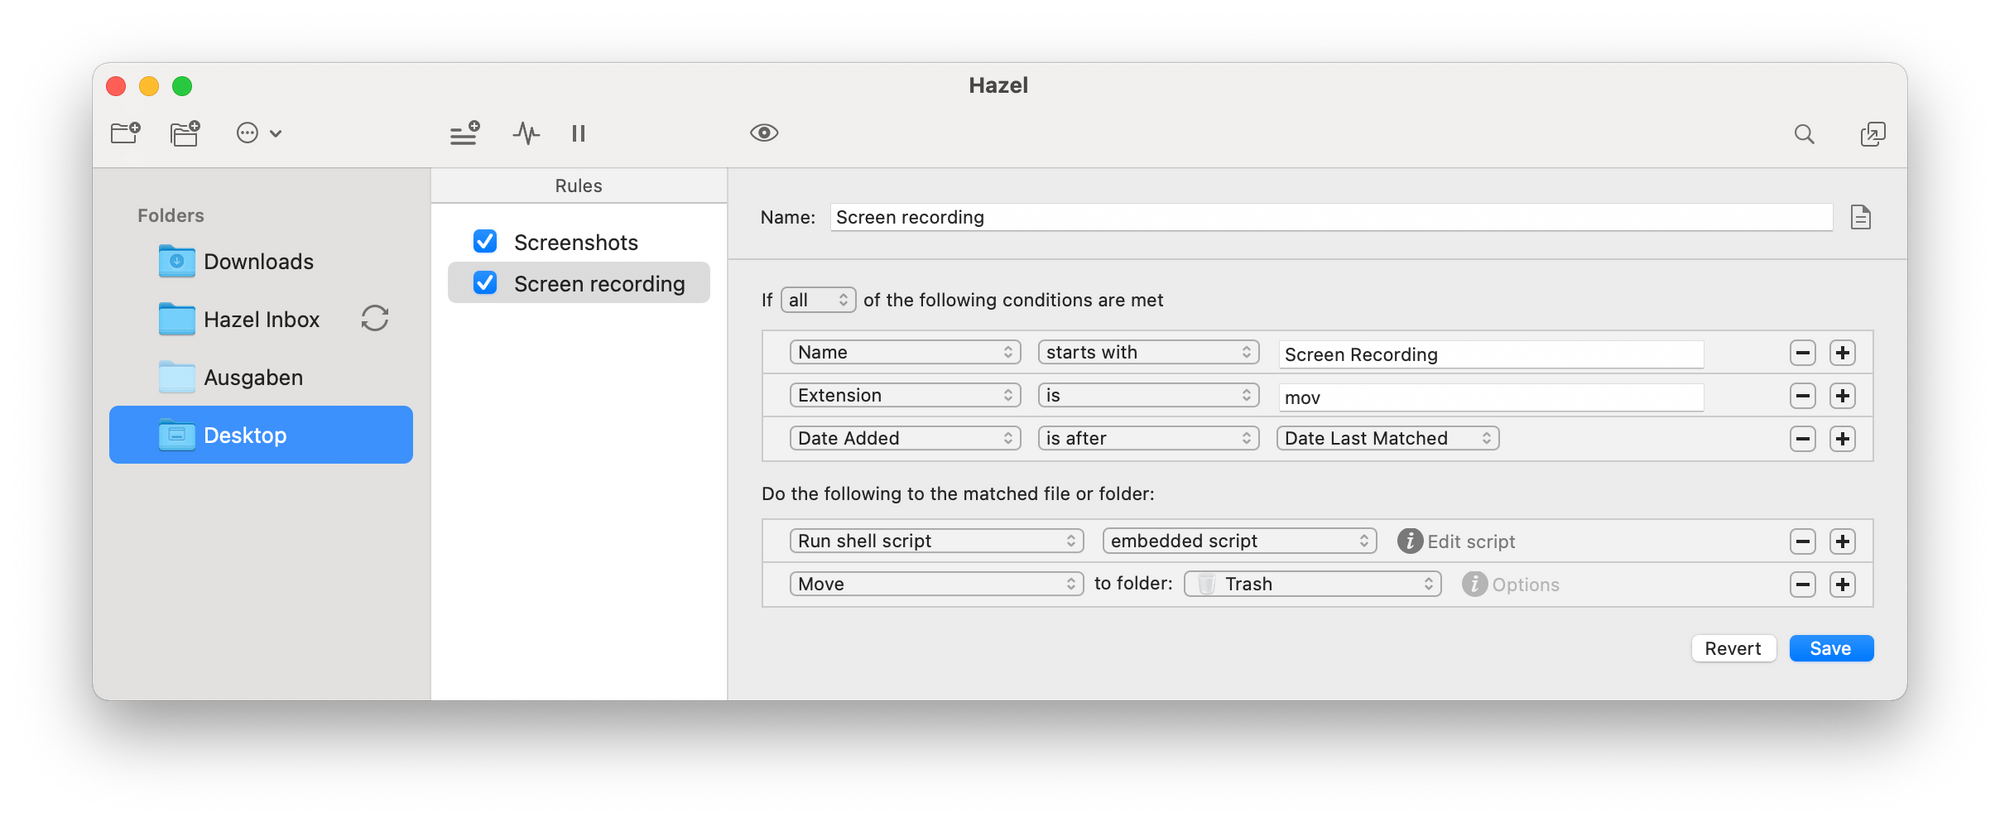
Step 3: Click "Edit script". Fill in this script:
ffmpeg -i "$1" -c:v libx264 -crf 23 "$1.mp4"
Done! From now on, Hazel will auto-convert your screen recordings taken with macOS's Screenshot app to mp4 (x264) and compress them.